Reclaimed and Repurposed

People get so worked up about things breaking. Not everything I throw or build survives into a finished product. There are a variety of steps that the clay takes to get to a functional piece of pottery. At any given time a piece may crack, warp, or explode. Sure, it’s disappointing because now I have to reinvest my time to create a like item, but it’s not a total loss. If the clay hasn’t been fired then all I’m out is my time because I can reuse that clay. Any clay that gets trimmed from a piece isn’t automatically garbage, either. I save all of it.

600_2029

Scraps are left on a canvas table to get bone dry.

600_2044

After the clay pieces are bone dry I rehydrate them in a 5 gallon bucket.

600_2051

600_2052

The sludgy clay is put into a mixer.

600_2054 600_2058 600_2059

Then I add enough clay powder to reach the proper consistency.

I get my clay from Krueger Pottery in St. Louis.

600_2061 600_2066 600_2068

Once the clay works through the mixture it comes out a manageable consistency that I will use to create more pieces.


There’s a similar process that we go through as humans, as Christians. In our sin and brokenness we are useless. We lack appeal and value and could easily be discarded.  However, God chose to repurpose us. He chose to give us new life. He rehydrated us with Christ’s blood and the waters of baptism. He uses the Holy Spirit to work in our hearts. After Christ we have a new purpose, we have a new value. We are redeemed  creations of the Potter. He forms us, shapes us and gives us purpose – life.

Purple Invades D2E

Here’s a peek at a few of the girls from Trinity Lutheran School‘s Troop 31:26 as they visited the DowntoEarthenware studio. A few days ago a quick mention was made of them, but now we have pictures to share as well. These young ladies were on a mission to make surprise Christmas gifts for their families. They worked diligently and certainly enjoyed the fact that they got to keep a secret from their parents!

600_1606

The girls learned various clay skills related to hand-building.

600_1621

Each young lady had her own canvas workspace where she applied texture, cut her clay and then molded her piece.

600_1619

The pieces have been fired and they are fabulous! The girls will be so pleased with the results of their hard work as they proudly present them to their families.

600_1605In just a few weeks we will post an update revealing the finished products, but for now the mystery remains!

Like a Kid on Christmas Morning!

Saturday we took a family trip to Krueger Pottery in St. Louis. Ryan is great to work with and he graciously tolerated the chaos that our brood of five little ones created in his store. He offers a wide variety of tools, glazes, equipment, embellishments, and if there’s something you’re seeking that he doesn’t carry he can certainly order for you! They even offer kid and adult classes in their studio!

One of our goals was to find a few new glazes that would work well with the newly created Nativities. We settled on three: Aqua, Spring Green and Celadon.

Sunday provided the opportunity to glaze the pieces and start the kiln, but that brings us to the worst part…waiting anxiously for the firing to finish so we can see the finished product just as a kid anxiously awaits Christmas morning! Monday night at 1100degrees the kiln was cracked for the first peek. Today things had cooled off enough to FINALLY handle the new pieces! The results were pretty exciting.

10615563_726665514094680_380126628814568503_n

Medium 3 Piece Nativity in Celedon Glaze. Joseph stands around 4.5″

1932221_726665510761347_955588132351325101_n

Medium 3 Piece Nativity in Aqua Glaze.

1907299_726665517428013_608969092822135217_n

Medium 3 Piece Nativity in Spring Green Glaze.

1456750_726634727431092_8058095069161072808_n

Large Nativity in Aqua Glaze – Nativity is around 6″-7″ tall

10730144_726634734097758_4334037202179145001_n

Large Nativity in Celedon Glaze

11106_726634737431091_1797688030238826061_n

Large Nativity in Holly’s Gold Glaze

10433123_726634767431088_6968071144415889771_n

Large Nativity in Spring Green Glaze

What do you think? We would love to hear your feedback. For pricing you can check out our FaceBook page. Nativities are being offered to Facebook fans before putting them on our Etsy shop.

Guest Artists

DowntoEarthenware hosted 17 little girls from Trinity Lutheran School‘s Troop 31:26 this afternoon. Their mission? Operation Christmas Secret. These 17 young ladies worked diligently as they crafted adorably unique Christmas gifts for their families. Unfortunately I am unable to share pictures of their creations at this time because the girls are determined to keep their families unaware. What a fun afternoon teaching technique and watching their excitement and eagerness. Sometime in mid-December the pictures of the final products will be shared.

Demos and Deals!

Sunshine, live music, and handmade creations made a recipe for a great weekend! DowntoEarthenware had a booth at the Staunton (IL) Art and Music Festival Sept. 20 & 21. This was a unique opportunity to connect with people and really explain each piece and its function.


Zachariah Schnare-DownToEarthenware 1

A variety of pieces were available for purchase, but we had a special deal going on with our apple bakers. With every apple baker purchased the proud new owner also got to take home an apple (recently picked from a local orchard) to try in the new baker. This is quite a tasty incentive!

Zachariah Schnare-DownToEarthenware 2

Not only was there an opportunity to connect with individuals, but there was a great opportunity for those in attendance to see the throwing process.

Zachariah Schnare-DownToEarthenware 3

Here is a finished large baking dish.   Point of interest: did you know that the notches on the sides of the dishes aren’t purely decorative? If you cut a pie from one notch to the one directly across from it all the way around the pie you will end up with 8 evenly cut pieces! It’s all about form and function, my friends, form and function.

** Pictures courtesy of Kaylan Schardan of Macoupin County Enquirer-Democrat – She visited the booth and when the article is published, we will be happy to share that link with you!

Red Hot Apples Comin’ at Ya!

Have you tried our first baked apple recipe? Every bite of it tastes like fall, doesn’t it? If you’ve tried it you’ll also know that it was super simple to assemble and bake. In fact, you were probably thinking, “Wow, this was super simple and the presentation is beautiful.” Or, “Wow, this is what September tastes like.” Or, if you’re like me, you were thinking, “Nom, nom, nom…it’s gone already?!” (Obviously my level of sophistication exceeds that of many.)

For those of you who haven’t tried that baked apple and are feeling a bit green with envy that we’ve all taken a bite out of September and you haven’t, then in the words of Smokey the Bear, “Only you can solve that problem.” Perhaps that was my fourth grade teacher….

In any event… Here are two more delicious apple baking recipes for you to savor in our fabulous apple bakers!

Red Hot Apple:

photo 3 (1)


You need one large apple and a handful of those spicy little red hot candies

Begin by coring your apple and cutting off the skin around the top of the apple. Place your apple on the spoke of your handy little apple baker.

photo 2

The second step is very simple: drop as many of those red hot candies into the center of the apple as possible and then let them mound on top.


photo 4


Bake your apple for 20-30 mins at 350. Pull it out when the apple seems done and the red hot candies are melted. ** We used larger red hots and they didn’t melt as quickly. This would probably work best with the smaller red hots. However, it did not have a negative impact on the taste of the apple. **

This apple has a similar flavor to a candied apple.


2014-08-30 14.53.15

Apple Praline:

One large baking apple

1 tablespoon butter

1 tablespoon brown sugar

2 tablespoons pecan pieces

1/8 teaspoon cinnamon

a few drops of vanilla

Core your apple, cut off skin around the top of the apple.

2014-08-30 15.02.15


Melt your butter and combine with your brown sugar, cinnamon, drops of vanilla and most of your pecans. Pack the mixture into the center of your apple and let it mound on top of the apple. Place extra pecans on top of brown sugar mixture.

photo 2 (1)


Bake at 350 for 20-30 mins.

 ** If you don’t want the pecans to get too brown you can cover your baker with foil.

New Favorite Things

600_5917 copyMaking a piece that is aesthetically pleasing is a task. Making a piece that is functional is also a task. Making a dish that possesses both qualities can be a challenge. That is my challenge. I was thrilled last spring when a friend helped me get in touch with Miss Ruth from Conservatism and Bacon. Miss Ruth had some interest in pottery from DowntoEarthenware. I am always looking for people willing to try out my baking ware for critique so I know what it can do, what its limitations are and how I can improve the design and functionality. Miss Ruth was willing to field test a few of the apple bakers and some medium sized baking dishes. 600_5930 copy Check out her review of DowntoEarthenware at New Favorite Things by Miss Ruth and then visit our Etsy store so you can bake like Miss Ruth! And while you’re at it – go ahead and follow her blog – it’s worth it!

From The Kitchen And On The Road

I love to cook. And I love to bake. If you follow any of my social media (this blog included) you know this already. If I’m not following politics I’m probably in my kitchen throwing random ingredients together in an attempt to either fully destroy my kitchen or create another drool-worthy masterpiece. Part of the what makes the whole process a success is the right cookware. And I’ve sorely been lacking in that area since having to sell off all my original cook- and bakeware. I’m super picky about my pieces and want each one to be multi-functioning and worth the price, material, time, etc, which is probably the biggest reason I’m STILL working on my collection.

Well, this chick is three pieces closer to her dream kitchen thanks to a small company called DowntoEarthenware. The owner and earthenware creator extraordinaire, Zach Schnare, is based out of the tiny…

View original post 763 more words

Clean Crustless Egg Casserole

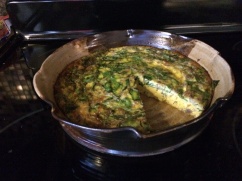
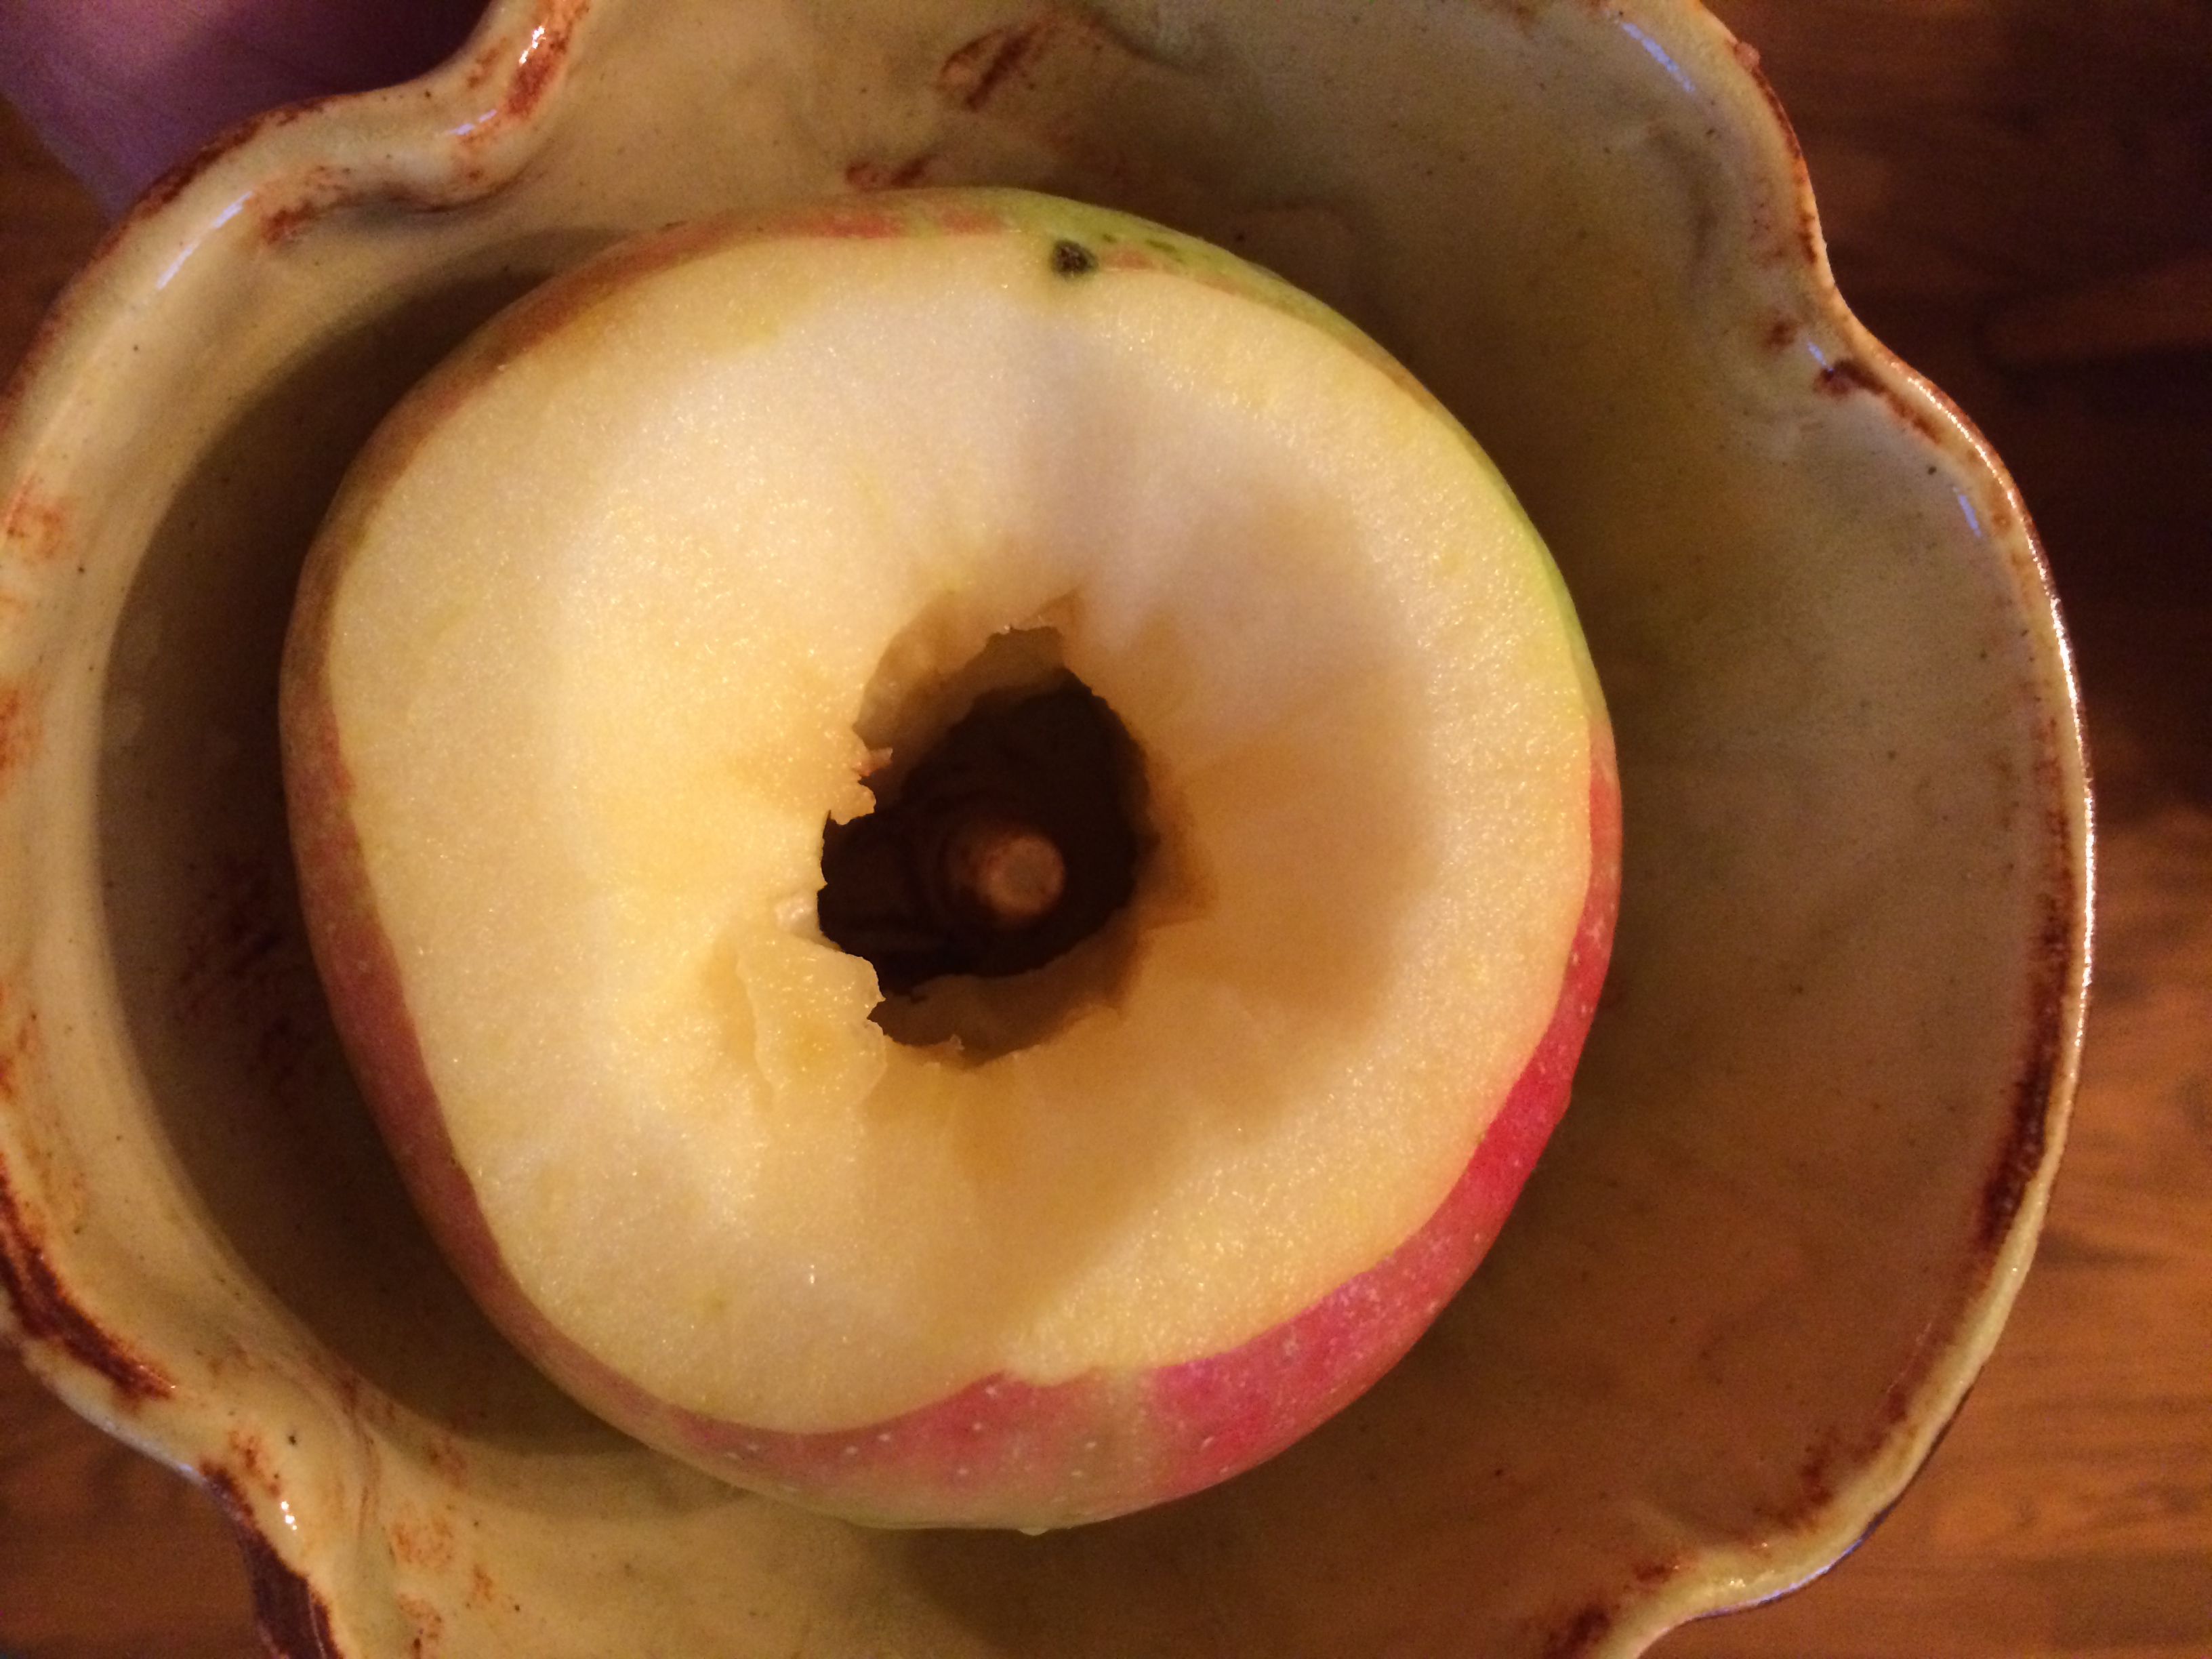
Beautiful Ceramic Baking Dish

image

 This breakfast dish has quickly become a family favorite.  It’s great because it’s versatile, high in protein, and convenient! It makes a delicious, nutritious hot breakfast a breeze on a hectic school morning. You know those mornings. The mornings when the kids are off-task (because organizing Rainbow Loom bands must be done at 6:47am), their socks don’t match (which, thankfully, is the trend these days), the permission slip that you signed yesterday went AWOL and it’s due today, and while scrubbing those pearly whites your daughter ends up with toothpaste slobber on her school shirt and now you have to rummage through the laundry pile (five loads, none folded) because if you try to get a new shirt from her room you’ll wake the toddler and no one wants to wake this toddler! Or maybe that’s just our mornings…

Back to the point of the post.

This dish serves 4-6 depending on the appetites you’re feeding and if you offer fresh fruit or toast or any other sides. I am using our large baking dish that easily accommodates a dozen eggs. We also have a smaller baking dish available that is great for 6-8 eggs.
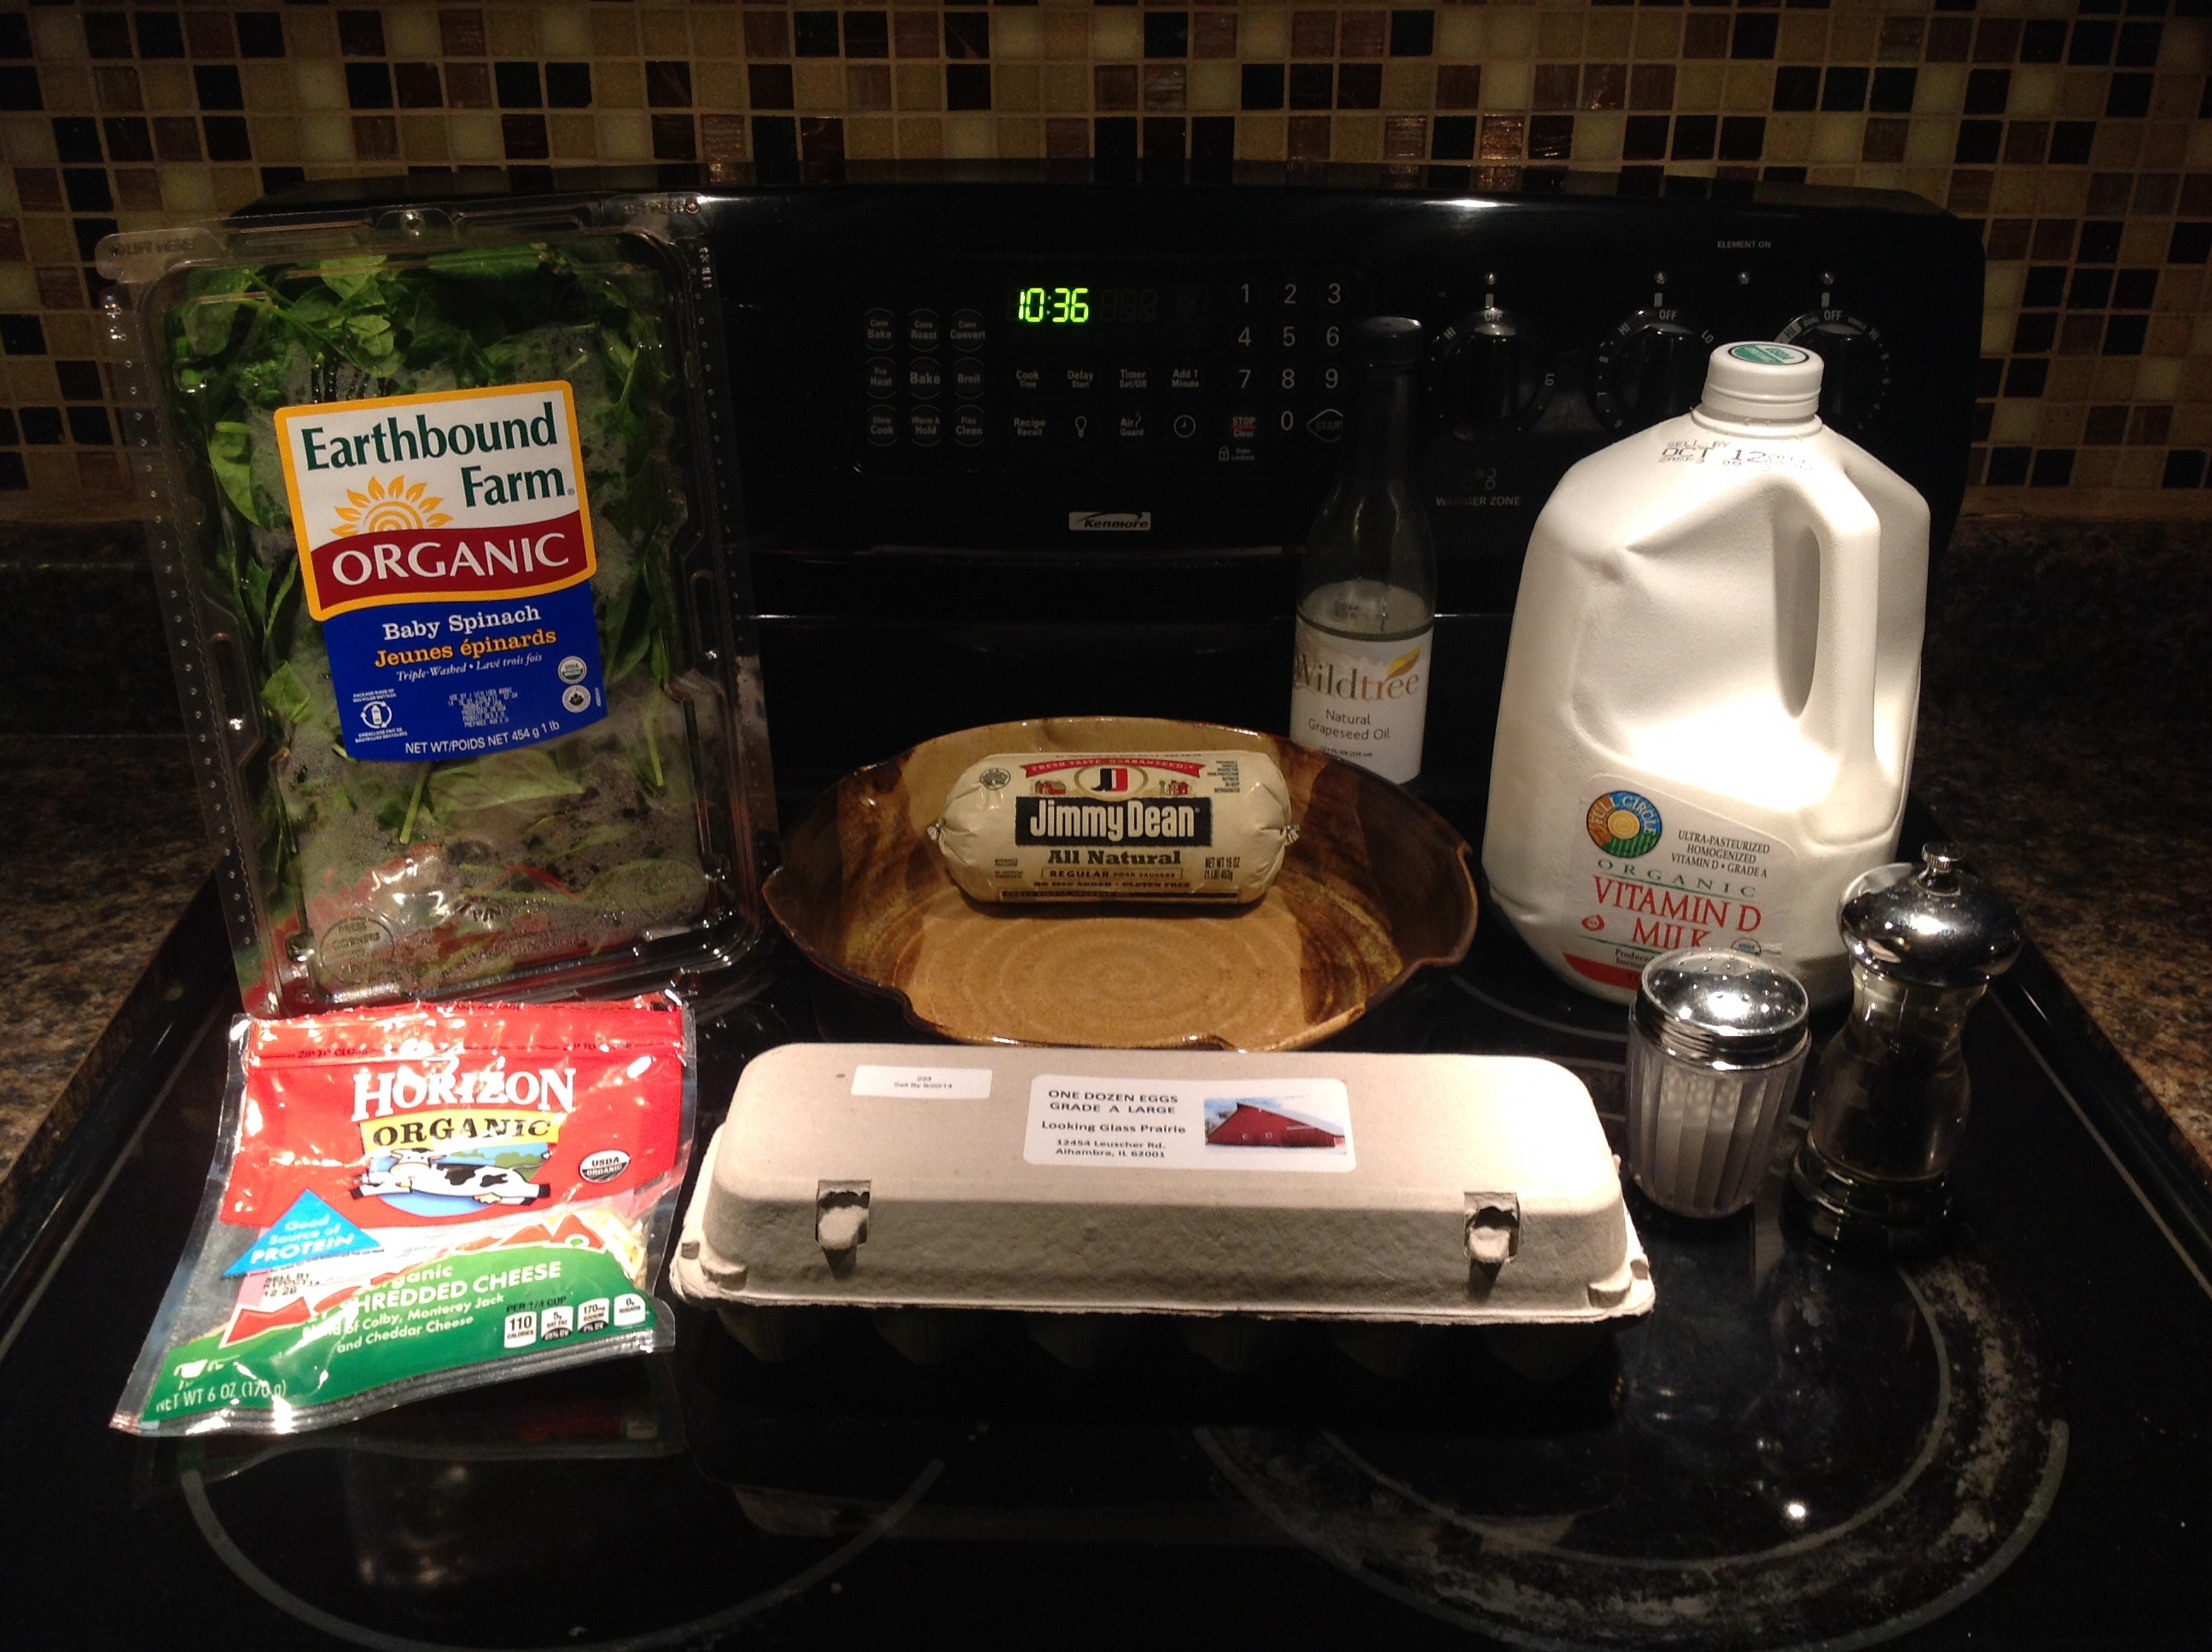
Ingredients needed:

image

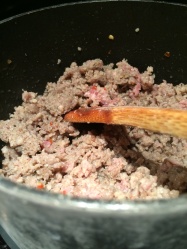
Start by browning your breakfast sausage.  I use one pound of Jimmy Dean All Natural Regular Pork Sausage because it is MSG free, nitrate/nitrite free, and phosphate free. (Plus it’s gluten free, which matters to some.) Yes, organic would be preferred, unfortunately that’s not in the budget this week.


Brown Sausage in a small to medium pot on the stove.

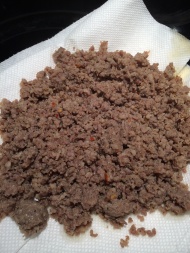
Be sure to drain off the fat or let the sausage rest on paper towel to absorb the grease. To be thrifty, put half of the browned sausage in a baggie and throw it in the freezer for later.

image

image


image

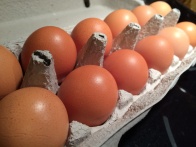
I get my eggs from a local farm on a weekly basis. Not only are they beautiful, but they have a deliciously rich flavor.

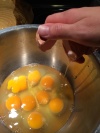
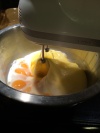
I have found that 12 eggs is ideal for our family, but you can use 8-6 if you don’t need quite as much. Beat your eggs and add milk.

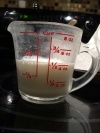
I’m not big measuring, I just pour some in until it looks pretty good. Around 1/2 – 3/4 cup organic whole milk.

imageimageimage

image


image

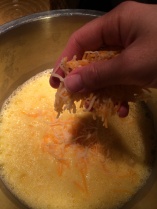
After you beat the eggs and milk so they’re fluffy, toss in 1/4 cup-ish grated cheese. We change it up around here, which is mostly due to what I have on hand. Some days I use cheddar, other days it’s been mozzarella and parmesan. For a great kick add pepper jack cheese!


image

Next add 1 1/2 cups torn baby spinach. If you’re cooking with the kids this is a fun thing for them to be doing. While you’re busy beating eggs your little helper can be tearing baby spinach leaves. It doesn’t have to be extra tiny or sliced or all the same size. Just let the kids grab a few leaves and rip them up a couple times.


image
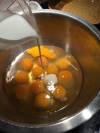
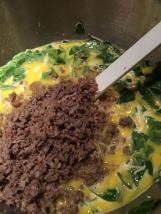
At any point you can add your sausage and salt and pepper to taste. Which, really is an odd thing to say. After all, who is going to add some salt and pepper to raw egg soup, stick their finger in and taste it. Really? Don’t do that. Just add some. and then add more after it bakes if it wasn’t enough.

This is where our additions end because of the taste preferences of our 5 minions. If you’re minion-free or have minions with different taste preferences you could add even more deliciousness to this dish, such as fresh mushrooms, diced bell pepper, broccoli, chunks of ham, onion, kale, etc. Have fun with it. Get creative. Throw in anything you like! (Just don’t tell the kids until after they have eaten it!)

imageBefore I pour my egg mixture into my baking dish, I spritz the dish with grapeseed oil. You could use Extra Virgin Olive Oil or Coconut Oil or even butter I suppose. I have made this several times before in a glass baking dish and in Corningware.** If you are preparing this the night before and don’t want to bake it until the morning then you can cover your dish with plastic wrap and refrigerate it overnight.

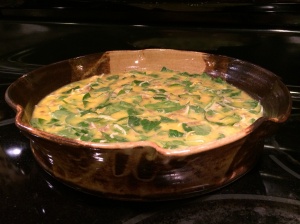
I bake mine in my convection oven at 350 for 40 minutes. I honestly don’t know if it takes longer to bake in a conventional oven. Just be sure that the egg in the middle is completely cooked before you serve and enjoy!

** Note about this bakeware:  I have made this several times before in a glass baking dish and in Corningware. The eggs stuck to both of those dishes regardless of how well I oiled the pan. The casserole baked in the DowntoEarthenware Baking Dish was extremely easy to cut and came our without any of the egg sticking. Beautiful results!


Check out this style of baking dish on Etsy
imageimage